Long Exposure Photography – For landscape photographers!
So what is long exposure photography and why would you want to know all about it? When you see a photo with some silky smooth water or a waterfall with those whispy streaks or even a city street with light streams from the moving cars, that’s the result of long exposure photography. This is a technique that has been used since the beginning of photography and is very popular with landscape photographers. It all comes down to how long you leave the shutter open and in this article, we’re going to learn all about it.
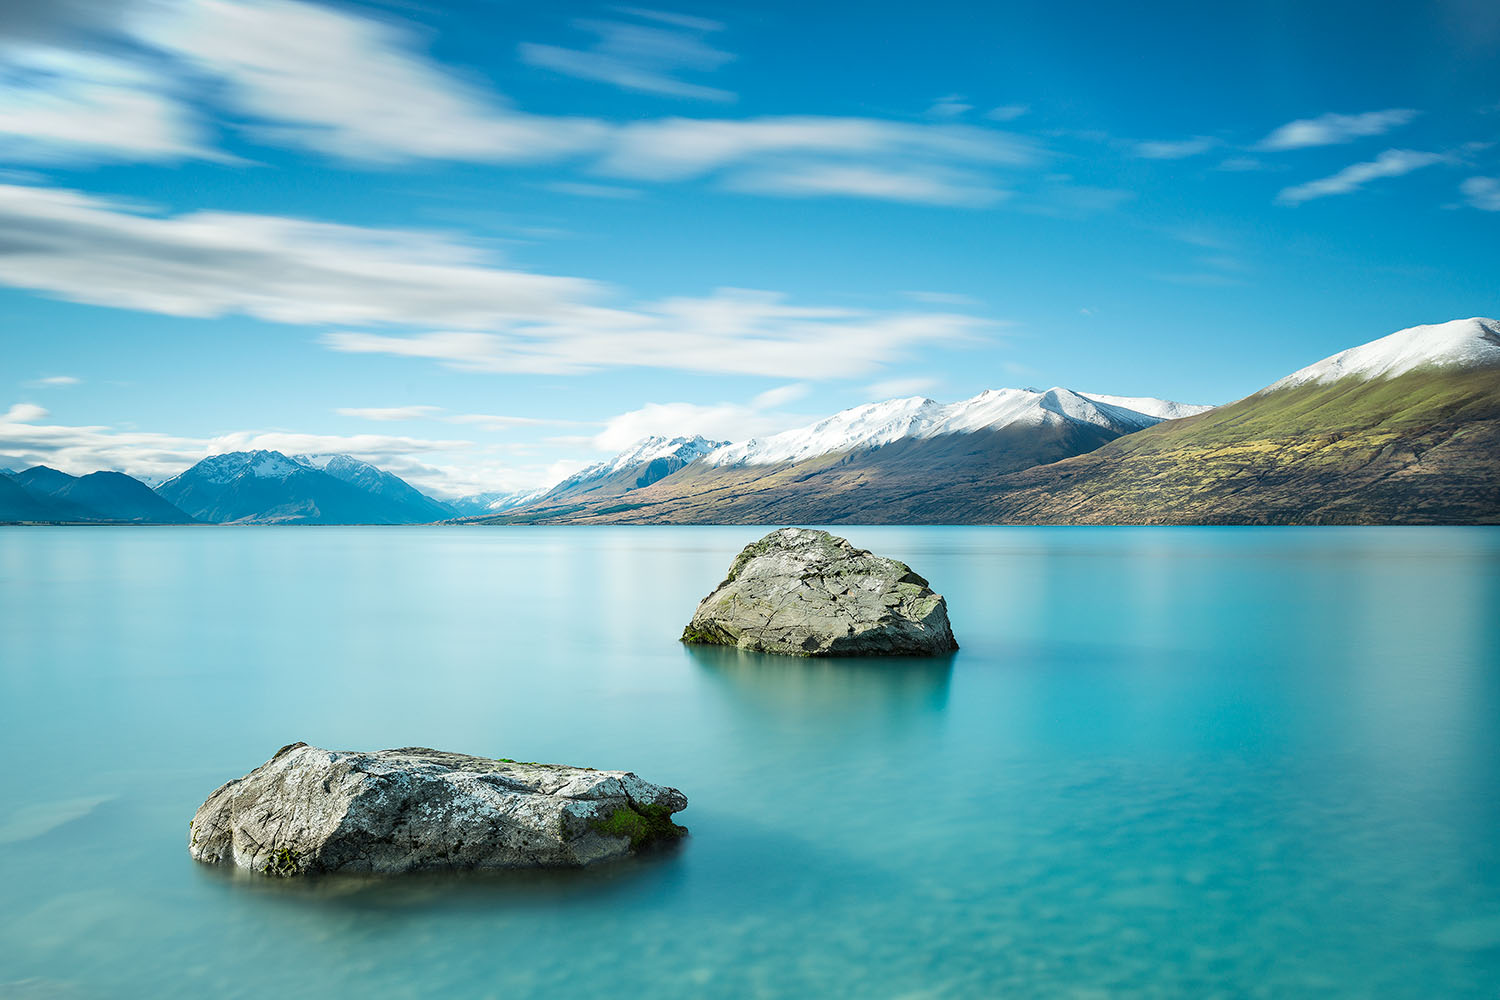
Long Exposure Photography is a very visually appealing way to capture landscapes, seascapes and cityscapes and has become very popular in the last couple of decades, especially since the introduction of digital camera’s.
This style of photography is very expressive and allows the photographer to become very creative with his work. As I mentioned before, this technique is very popular with Landscape Photographers, but it can be used with almost any genre of photography.

It’s all about Shutter Speed
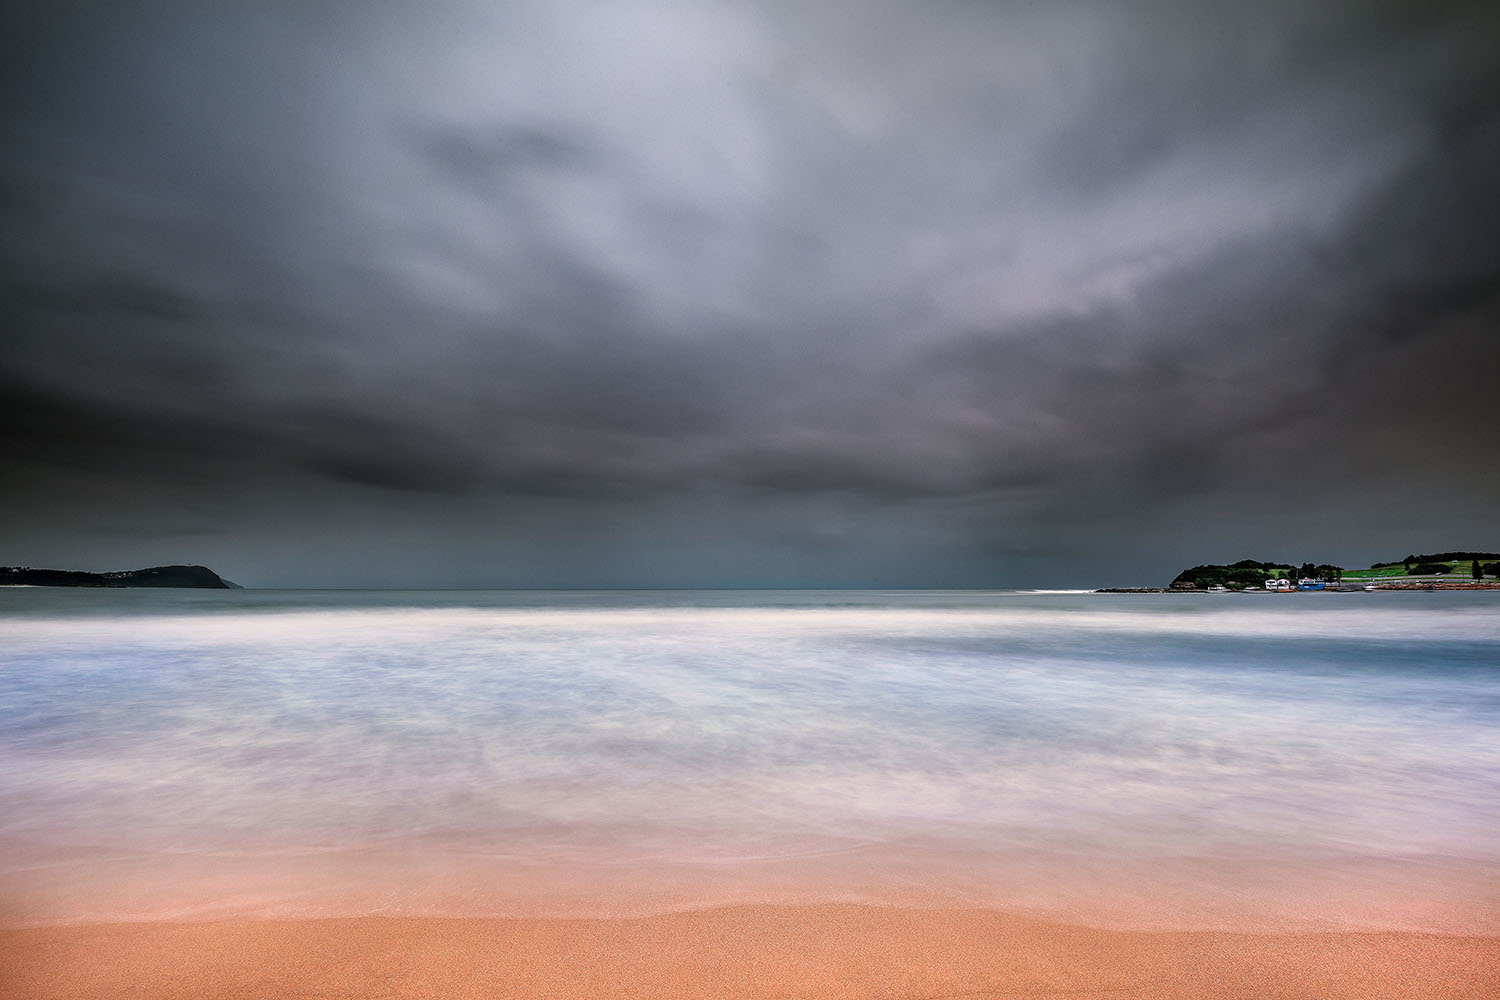
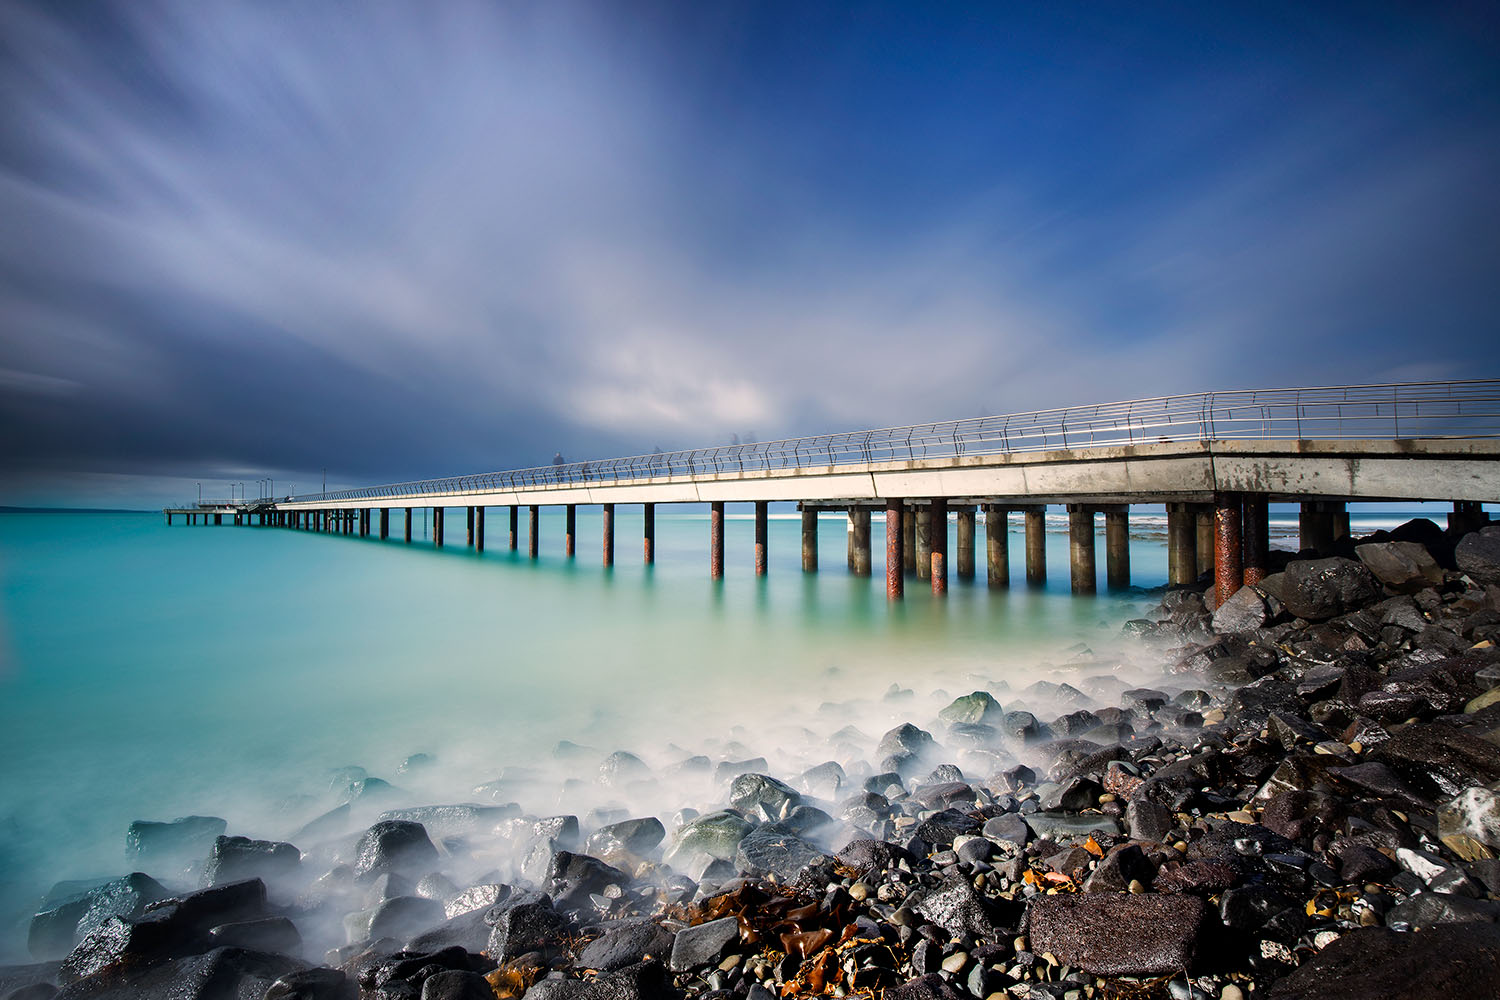
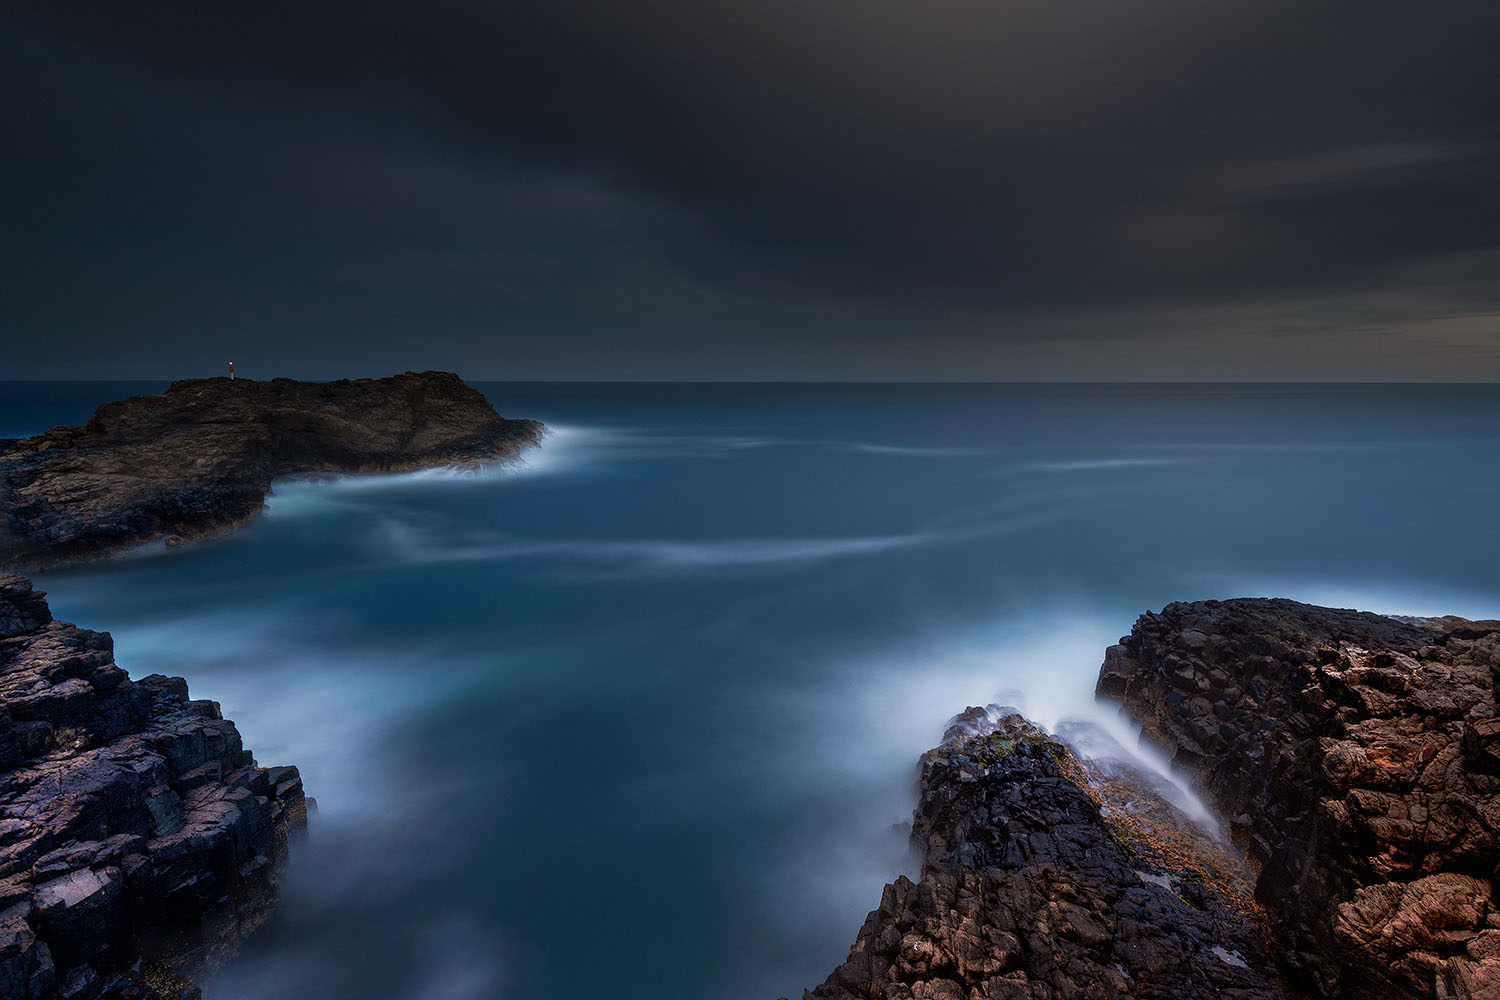
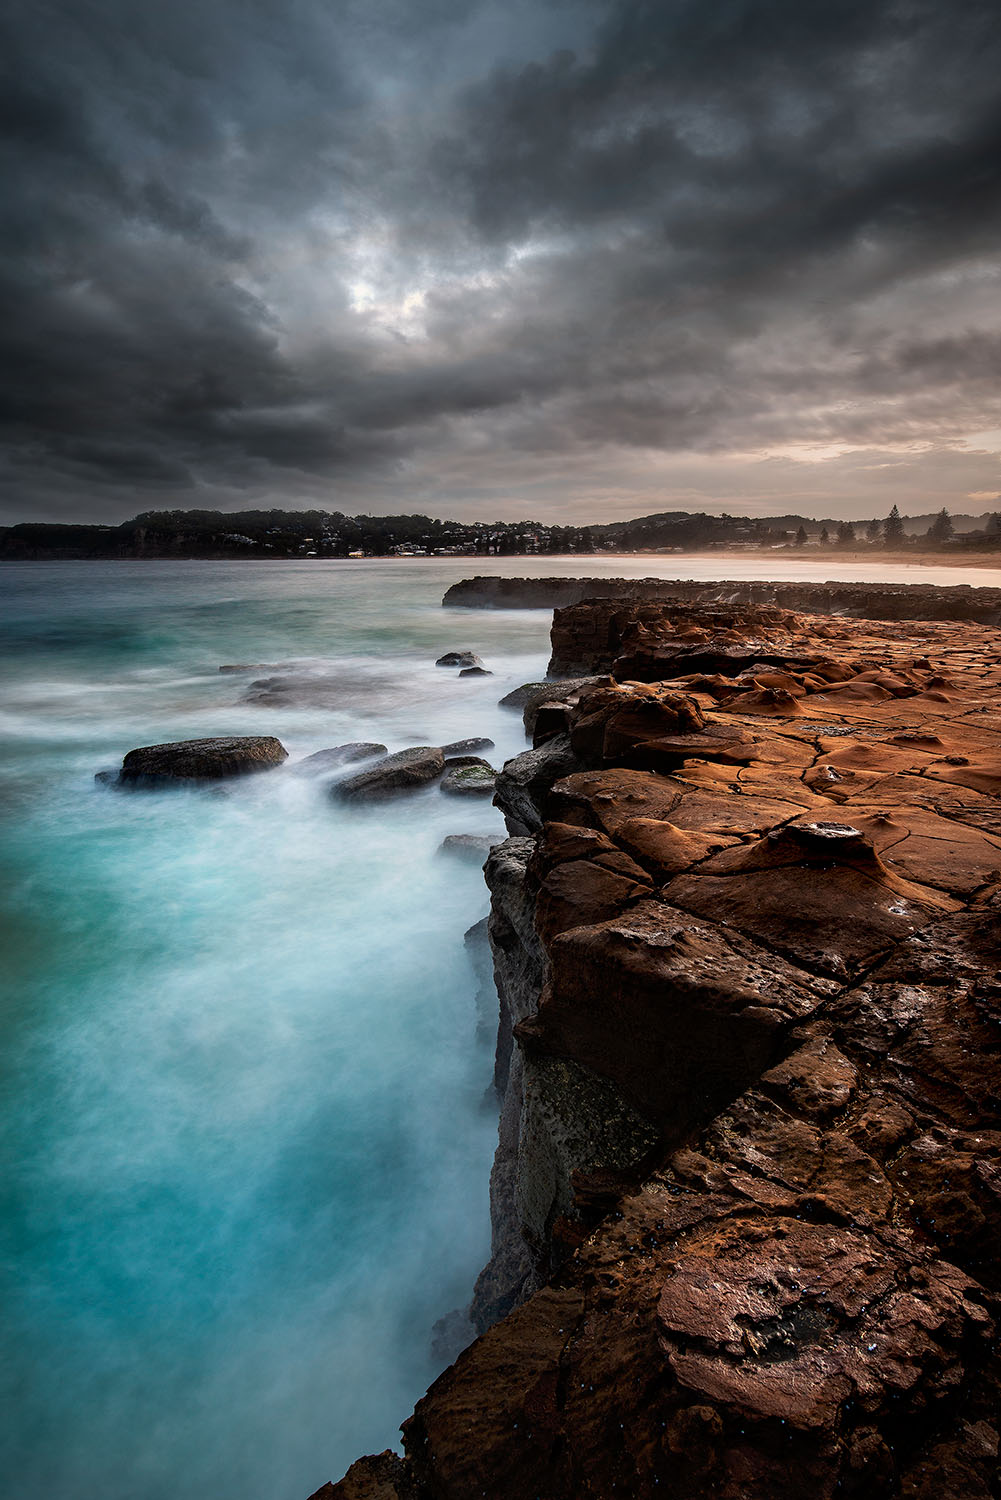
Understanding how to control your shutter speed is very important in order to create long exposure photos. The shutter speed is a measurement of how long the shutter stays open in order to expose the sensor to light. The shutter can be open from 1/8000 of a second to infinity or until your battery runs out at least. The quicker the exposure, the more frozen in time your subject will be. The longer the exposure, the more moment will show up. This will be seen with milky water or streaky clouds.
Having the Right Equipment
Capturing long exposure requires a few additional pieces of equipment as well as your DSLR. Having these items will help you get a much better result.
- Good Quality Tripod
- Remote Shutter Release
- ND Filters
Getting Your Camera On A Tripod
A tripod is absolutely essential for Long Exposure Photography. Without having your camera on a tripod, you will not be able to hold your camera steady enough in order to get sharp images.
You can find tripods online at quite reasonable prices but I would always recommend that you buy the best quality that you can afford. Cheaping out on a tripod is not a good idea and placing your expensive camera on top of a more solid tripod with a more secure bracket is less likely to lead to shaky photos or even a dropped camera.
Using ND (Neutral Density) Filters For Longer Exposures
ND Filters can be a great help in getting your exposure longer than may be possible in situations where there is way too much ambient light to hold your shutter open long enough to get the desired result. When the ND filter is placed in front of your lens, it blocks a certain amount of light from hitting the sensor which in turn enables you to keep the shutter open longer.
There are only two types of filter that you can get. One is circular and will screw directly onto the front of your lens. The other is square or rectangular shaped and you a filter holder for this type. Usually, the better quality filters come as the slide in form and some of the more commonly used are Lee Filters and Nisi Filters.
I personally prefer to use the slide in filters as you are able to stack your filters so you can use more than one filter at a time. This type of system is also a much better way to use graduated ND filters as you are able to move the filter up and down in the filter holder to suit your composition.
Filter Strengths
These filters come in various strengths. I personally use Lee Filters and they come in 1 Stop, 2 Stop, 3 Stop, 6 Stop and 10 Stop. As you can imagine, the higher the stop the more light that you are stopping from hitting your sensor and therefore will give you a longer shutter speed. The simple way to explain this is that for each stop of light you block with your filter, you can mover your shutter one stop in order to double your shutter speed from its current position.
My personal favourite is the 10 Stop ND filter which Lee Filters call the ‘Big Stopper’.
This will allow you to go from a shutter speed of 1/160 of a second to a 6-second exposure. This definitely gives you much more opportunity to be a bit more creative with your photography.
A Remote Shutter Release Is A Must.
Last but not least, the remote shutter release is another piece of equipment will help you get a better result. Just by physically pressing the shutter you can cause camera shake which can result in images that are not as sharp as they could be. The remote shutter release will remove this issue completely.
The other reason that you need this important piece of equipment is so that you can get exposures longer that 30 seconds. Once you go beyond 30 seconds you have to hold down the shutter button until you are finished exposing your shot. Could you imagine trying to hold your finger on the shutter button for a full minute or even 4 minutes? This would be frustrating and awkward. You can buy these remote releases for as little as $10 so there’s no reason why you couldn’t have one in your camera bag.

It’s Time To Get Out There And Shoot
So you’re good to go. You have your camera, you have your additional accessories and you kind of know what to do, right?
To be honest, if you have been taking landscape photos for a little while, you should be fine. Long Exposure Photography, when it comes to capturing landscapes really is no different. You still have to consider all of the same this that you would have to consider if you weren’t trying to capture a long exposure.
You still need to focus on creating a good composition and good subject matter is also still very important. The only difference is that you are now trying to add another interesting element to the shot. You will be trying to blur, to a certain extent, anything that is moving in the shot. This could be a waterfall, the ocean, the clouds or all of the above in the same shot.
Keeping Your Shot In Focus
When setting you’re shot up, you need to be mindful that even though some of the element of the photo will have some motion blur, the rest of the scene should be in focus and sharp. If for example, you are using a 10 Stop filter, it will be quite difficult to find focus. I would suggest getting your camera in focus before you put your filter on. Once you have found focus, you can re-adjust your exposure. Once your camera is focused, always make sure that you switch from autofocus back to manual focus before you take your shot. If you don’t you’ll find that due to the very dark filter infant of your lens, the camera will find it very difficult to focus and you will end up with a blurry out of focus image.
At this point, you are ready to shoot and it’s time to capture the beautiful scene before you but there’s a couple of things we just need to check.
Make sure your camera is set to M – manual mode. This will make sure that all of your settings stay the same. My rule of thumb would be f/11 and ISO 100 and the shutter speed will be determined by which ND filter you decide to use.
If the calculations for your shutter speed exceeds 30 seconds, you’ll need to set your shutter speed to ‘Bulb’. This will allow you to hold the shutter open for as you need in order to get the correct exposure. This is where your remote shutter release will come in. Once you press the shutter button on the remote release, usually there is a feature that lets you lock down the shutter button.
In order to calculate the shutter speed for your first long exposure, you can use two different techniques. The old fashion way, which is what I use or you can use technology in the form of a phone app.
I always show workshop participants the ‘old fashion’ way but you can use a very clever app that Lee Filters have produced called ‘Lee Stopper’ and is available in the iTunes app store. This app will automatically calculate the correct shutter speed depending on which filter you are using. The options are 6 Stop, 10 Stop and 15 Stop. This app is free to download and I highly recommend it.
The ‘old fashion’ way is really quite simple but can be a little confusion for beginners but I still believe that you should get your head around as it helps you to get a better understand of exposure and how it works.
Ok, so a 10 Stop filter really holds back 10 Stops of light hitting your camera’s sensor so essentially if your shutter speed is at 1/100 of a second before you put the 10 Stop ND filter on you need to move your shutter dial by 10 stops which would equate to 30 clicks as you turn the shutter dial on the camera. So 1/100 of a second would become 10 seconds. If you were at 1/50 of a second, it would become 20 seconds.
In Conclusion
There is no greater substitute for hitting that shutter. Just get out there and give yourself time to practice as much as you can. It takes a while to master a new technique. The middle of the day is the best time to practice as you don’t have the issue of the sun going down and the light rapidly disappearing.
Photography is meant to be fun and Long Exposure Photography is no different. You will see how you can create such different images to what you’re used to.
I hope that you found this article interesting as well as informative and I look forward to sharing some more tips to help you improve your photography skills.

Recent Articles
The Gift Of Photography
South Coast Trip
Camera Gear Upgrade

Grab the latest deals direct to your inbox
Your email is safe ❤️ . I hate SPAM same as you!
Please Fill The Form Below:
"This website is a place where you can come and view the world through my eyes. I have been to many places and witnessed some amazing landscapes and it gives me joy to share them with you. I hope you enjoy these viewing these images just as much as I have enjoyed capturing them". - Danny Irvine
SUPPORT
© 2018 Danny Irvine Photography | All rights reserved